Supported Devices
RaspberryPi 3
 | CPU Information processor : 0 BogoMIPS : 38.40 processor : 1 BogoMIPS : 38.40 processor : 2 BogoMIPS : 38.40 processor : 3 BogoMIPS : 38.40 Features : fp asimd evtstrm crc32 CPU implementer : 0x41 CPU architecture: 8 CPU variant :0x0 CPU part : 0xd03 CPU revision : 4 |
- About this device
- Introduction
- Needed stuff
- Preparation
- Installation
- Configuration
- Additional information
- Links
About this device
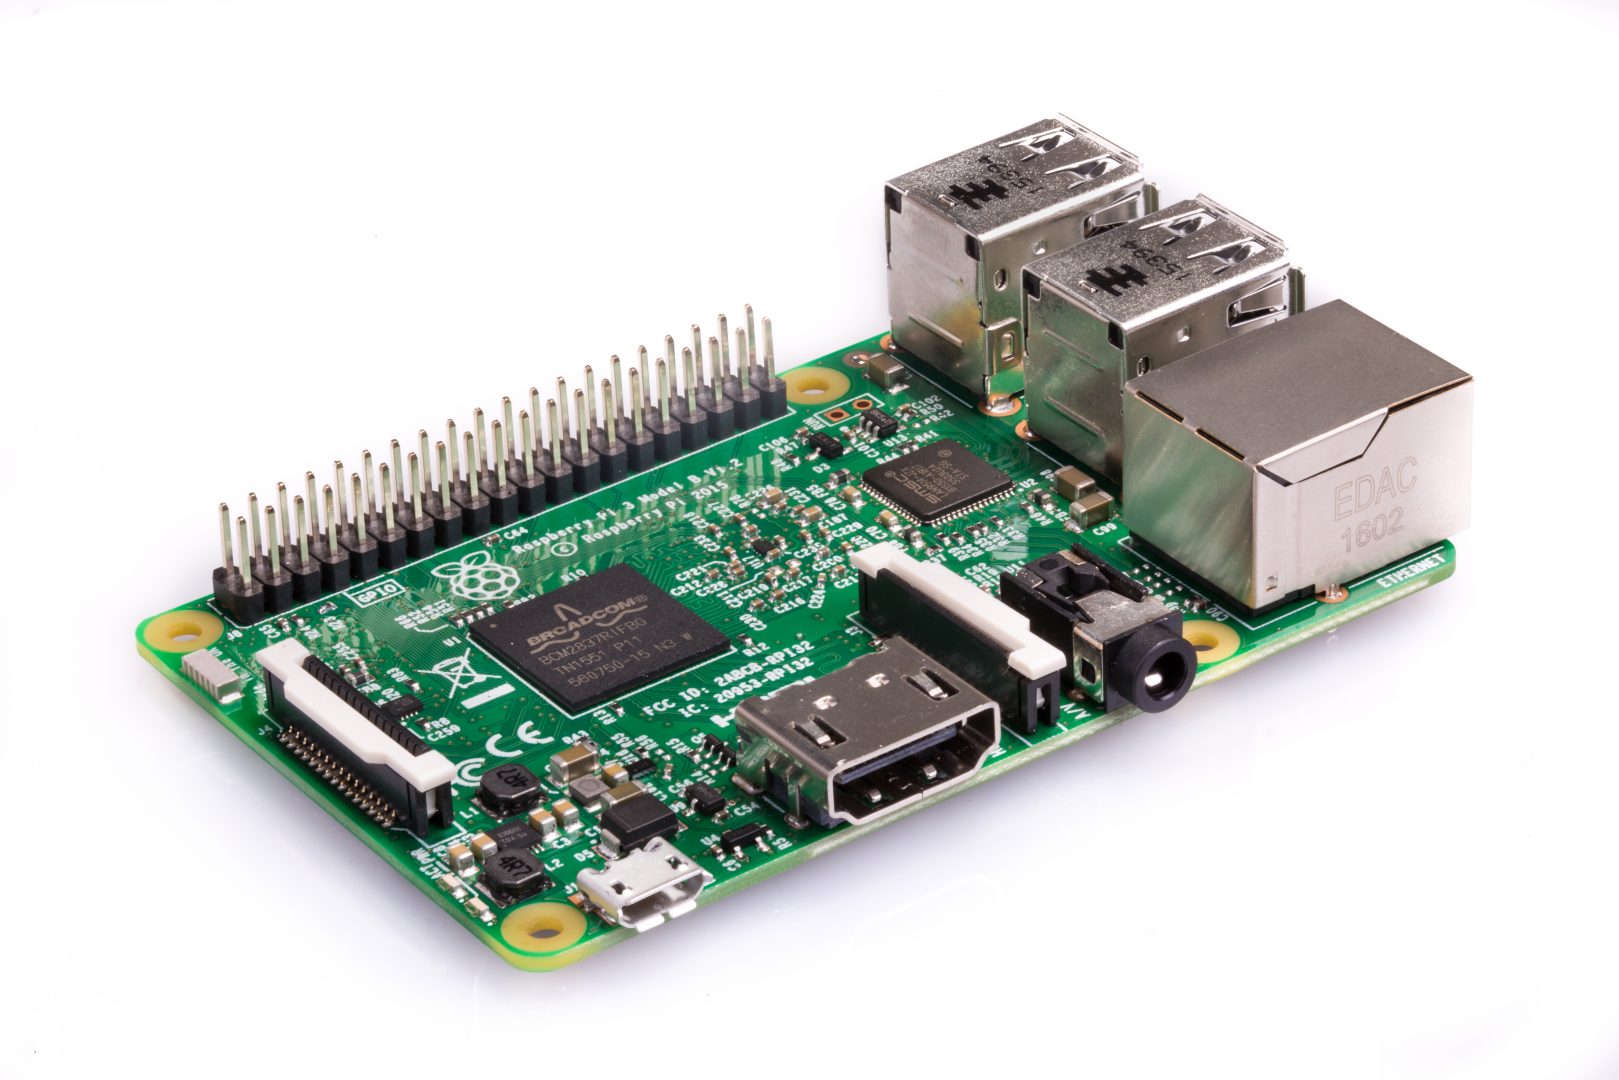
The Raspberry Pi 3 Model B is a highly popular, affordable single-board computer based on the Broadcom BCM2837 SoC (Quad-core Cortex-A53 64-bit, ARMv8). Designed for education, prototyping, and embedded applications, it features integrated Wi-Fi and Bluetooth, HDMI output, and a 40-pin GPIO header. Its extensive community and open documentation make it an ideal platform for both beginners and advanced users.
Introduction
This page provides essential information and instructions to install, configure, and optimize CRUX-ARM on the Raspberry Pi 3B. Whether you are setting up a home server, experimenting with embedded applications, or just exploring ARM Linux, this guide will help you get started and make the most of your device. CRUX-ARM supports the Raspberry Pi 3B, providing a minimal, flexible Linux environment that leverages the board’s capabilities for ARM development, home servers, IoT, and more.
Needed stuff
- Boot files and kernel
- Current Kernel version released 6.12.25
- bootcode.bin, start*.elf, fixup*.dat, cmdline.txt, config.txt, *.dtb, *.img, overlays folder
- Kernel modules
- Official optimized release for the Raspberrypi3
Preparation
To install CRUX-ARM on the Raspberry Pi 3B, you will need to prepare a microSD card with the appropriate partition layout, install the bootloader and kernel, and deploy the CRUX-ARM root filesystem. The following guide will walk you step by step through this process, ensuring a reliable and smooth installation experience. Ensure you have a card reader and the appropriate permissions to write to the device.
Installation
1. Prepare the microSD Card
Recommended: Use a microSD card of at least 8GB, Class 10 or better.
Warning : Be very careful to select the correct device path for your microSD card, as using the wrong device could overwrite important data.
Partitioning:
fdisk ${card}
Follow these steps inside fdisk:
- Type o and press Enter to create a new empty DOS partition table.
- Type n and press Enter to create a new partition.
- Choose p for primary.
- Partition number: 1
- First sector: press Enter to accept default.
- Last sector: type +256M (or your preferred boot partition size) and press Enter.
- Type t and press Enter to change the partition type.
- Enter c for W95 FAT32 (LBA).
- Type a and press Enter to toggle the bootable flag on for partition 1.
- Type n and press Enter to create the second partition.
- Choose p for primary.
- Partition number: 2
- First sector: press Enter to accept default.
- Last sector: press Enter to use the rest of the card.
- Type w and press Enter to write the changes and exit.
2. Create Filesystems
Format the first partition as FAT32:
mkfs.vfat /dev/${card}1
Format the second partition as ext4:
mkfs.ext4 /dev/${card}2
3. Deploy to the micro SD card Get the needed files from the official repository and setup the first partition (FAT32) of the SD card to boot them:
# Get the needed sources
wget https://github.com/raspberrypi/firmware/archive/refs/tags/1.20250430.tar.gz

# Unpack them somewhere in your host computer
tar xvf 1.20250430.tar.gz

# Prepare the micro SD card mount points
mount ${card}2 /mnt

# Get CRUX-ARM release and deploy it to the micro SD card
wget https://git.crux.nu/system/crux-rootfs/releases/download/3.8/crux-3.8-arm64-raspberrypi3.rootfs.tar.xz
wget https://git.crux.nu/system/crux-rootfs/releases/download/3.8/crux-3.8-arm64-raspberrypi3.rootfs.tar.xz.sha256

# Verify its integrity
sha256 crux-3.8-arm64-raspberrypi3-rootfs.tar.xz

# Extract its contents to the micro SD card
tar pxvf crux-3.8-arm64-raspberrypi3.rootfs.tar.xz -C /mnt

# Mount the boot partition
mount ${card}1 /mnt/boot/

# Copy needed files to the destination directory
cp -r firmware-1.20250430/boot/* /mnt/boot/

# Copy modules to the destination directory
cp -r firmware-1.20250430/modules/6.12.25-v8+ /mnt/lib/modules/

# Unmount mount points
umount /mnt/boot
umount /mn
4. Boot Configuration
Edit /mnt/boot/config.txt (contains many configuration parameters for setting up the Raspberry Pi) to adjust video, overlays, or other hardware options.
Example:
cat /mnt/boot/config.txt
kernel=kernel8.img
gpu_mem=16
arm_64bit=1
enable_uart=1
Edit /mnt/boot/cmdline.txt (the kernel command line passed into the kernel at boot) to specify the correct root partition if necessary.
Example:
cat /mnt/boot/cmdline.txt
dwc_otg.lpm_enable=0 console=tty1 console=serial0,115200 root=/dev/mmcblk0p2 rootfstype=ext4 elevator=deadline fsck.repair=yes rootwait net.ifnames=0
Configuration
After deploying the CRUX-ARM root filesystem, it is important to configure several key system files to ensure proper operation and customization of your installation. The following files should be reviewed and edited according to your needs:
- /etc/pkgmk.conf
- Configure build options and package directories for pkgmk, the package building tool.
- /etc/prt-get.conf
- Set up the package management frontend, specifying the ports tree locations and other preferences for prt-get.
- /etc/inittab
- Define system runlevels and configure console access, including serial console settings if needed (e.g., enabling serial login on ttyS0).
- /etc/fstab
- List all filesystems and mount points to be mounted at boot. Make sure your root partition and any additional filesystems are correctly specified.
- /etc/rc.conf
- Set system-wide settings such as hostname, keyboard layout, timezone, and enabled services.
- /etc/network.d/net or /etc/rc.d/net
- Configure your network interface settings to ensure connectivity at boot.
Review and adjust these files to match your hardware, network environment, and personal preferences. Proper configuration at this stage will ensure a smooth and stable experience with CRUX-ARM on your Raspberry Pi 3 Model B.
This procedure ensures your microSD card is properly prepared for CRUX-ARM on Raspberrypi3, following best practices from both the official Raspberry Pi documentation and community guides
Note: For detailed explanations and examples of these configuration files, please refer to the official CRUX Handbook. The handbook provides comprehensive guidance on system configuration and package management, which can be especially helpful for new users.
Additional information
Customization
Serial Console
To obtain serial access:
- Uncomment and change the line in /etc/inittab:
s1:2:respawn:/sbin/agetty 115200 ttyS0 vt100
- In the client side (using minicom here): it's needed to disable hardware flow control to get input events working.
Improve Cooling
If you plan to overclock or run heavy workloads, install a heatsink and/or a small fan. Good thermal management prevents CPU throttling and extends hardware lifespan
Optimize Power Supply
Use a high-quality 5V/2.5A power supply. Insufficient power can cause instability, USB device failures, or unexpected reboots, especially under load or with peripherals attached
Reduce Boot Time
Disable the splash screen by adding disable_splash=1 to /boot/config.txt. You can also remove unnecessary services from startup to speed up boot.
Monitor and Manage CPU Temperature
Check CPU temperature with:
awk '{printf "%3.1f°C\n", $1/1000}' /sys/class/thermal/thermal_zone0/temp
Consider setting up scripts or using monitoring tools to keep an eye on system health.
Links
https://github.com/raspberrypi
https://github.com/raspberrypi/firmware
https://www.raspberrypi.com/documentation/
https://www.raspberrypi.com/documentation/computers/config_txt.html
https://www.raspberrypi.com/documentation/computers/linux_kernel.html
https://www.raspberrypi.com/documentation/computers/configuration.html#configure-uarts